


Synology DS207+ NAS Server

Installation
Â
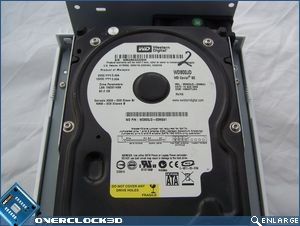
I chose to install two 80GB capacity Western Digital Caviar SE HDD’s into the Synology DS207+, and I’m happy to report that the process is just as easy as installing HDD’s into a regular chassis HDD caddy.
Â
Â
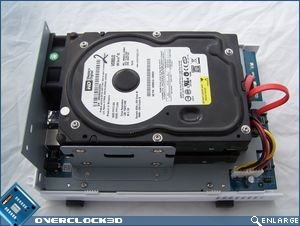
You can see from the image below that the DS207+ allows for sufficient airflow to circulate around the HDD’s, which is most certainly a good thing.
Â
Â
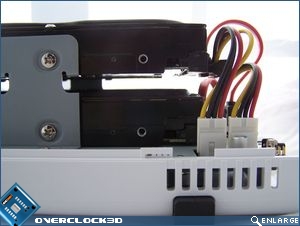
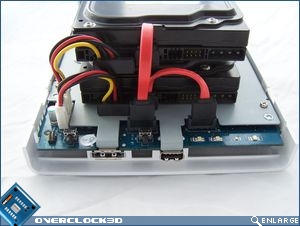
I particularly like how the shorter SATA and power cables retain the cooling ability of the DS207+, and don’t add additional clutter to the interior. This will also benefit the cooling performance of the unit itself.
Â
Â
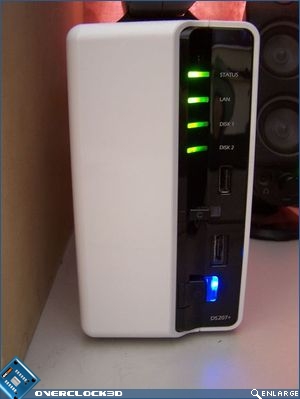
With the HDD’s installed and the side cover back in place, the DS207+ is ready to be fired up.
Â
Â
Now that we have the HDD’s installed and the Synology DS207+ connected to the network, let’s have a look at what it has to offer over the page.