Published: March 6, 2009 |
Source:
Asus |
Author:
Rich Weatherstone
Asus mATX ROG Rampage II Gene X58 Motherboard
BIOS Features
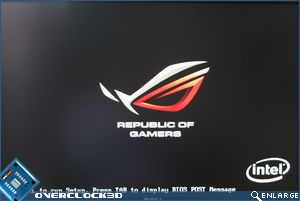
After detecting the GPU BIOS, the board boots into a flash sequence ending with the ROG (Republic of Gamers) emblem. This can be changed with the BIOS option to display the POST details if you so wish.
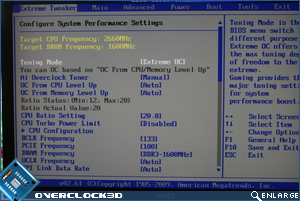
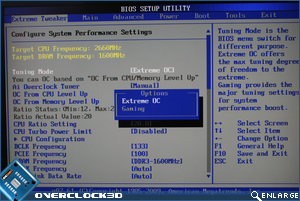
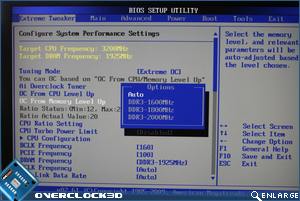
The first section in the BIOS is the Extreme tweaker area and as this is Overclock3D it is the one section that interests us most. While from the outset the BIOS looks substantial and intimidating it is riddled with auto overclocking features. Extreme OC setting allows the full fat features for the overclocking enthusiast whereas the gaming setting allows the basic settings to be available and the board does the rest for you. We will be exploring all of the features so have set this to Extreme OC.
Â
Â
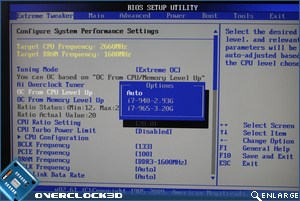
If you are looking for a quick and dirty overclock then the CPUÂ level up feature is for you. This allowed out i7 920 test CPU to be automatically ‘levelled up’ to the range topping i7 965 extreme edition CPU. Sadly it didn’t suddenly unlock the CPU multipliers but it did give us a clockspeed of 3.2GHz. This is ideal for those looking for a boost in performance but not wanting to dabble in the dark arts of overclocking. The memory up feature has the same effect but this time, on the memory. Sadly we did not have the same success here with 2000MHz unattainable by our DDR3 kit.
Â
Â
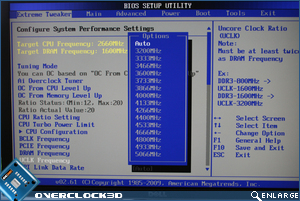
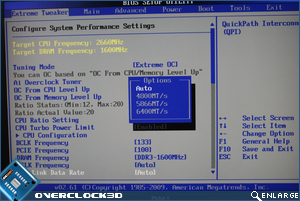
The CPU features are all there with the usual restrictions on CPU overclocking all enabled so if you are looking for the best possible performance IÂ advise you to disable the majority of these. The Unclock frequency is adjusted by means of a menu scrolling up and down with the arrow keys or the +/- keys.
Â
Â
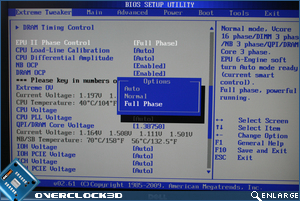
The QPI Link data rate is a small menu dictated by the Base clock setting again set by the use of arrow or plus/minus keys. Next we come to the EPU Phase setting. This is a power saving feature of Asus boards that alter the power modulation in effect lowering power consumption of your setup when in an idle state. This however can sometimes affect and overclock so Asus have thoughtfully allowed the setting to be turned off by tuning the setting to ‘Full Phase’ (16).
Â
Â
Â
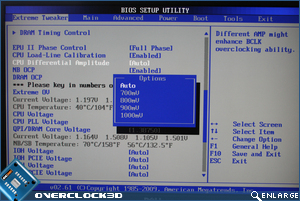
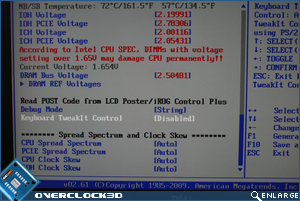
CPU Differential Amplitude can be fine tuned in 100Mv jumps to enhance stability under extreme overclocked conditions. Below right we see the beginning of the numerous voltage options. I have set all the voltages to there maximum level but rest assured I would not dare use these on a day to day basis as, for example, 2.5v on the CPU or memory would turn our test rig into a squealing puff of smoke in no time at all, such are the extreme voltages available here.
Â
Â
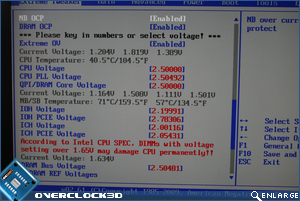
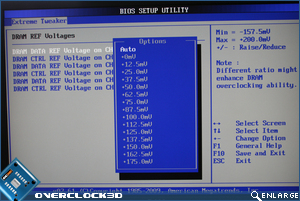
Data and control reference voltages can be tweaked on each channel (A, B and C) by the means of a sub menu, further enhancing the possibilities of high overclocks with the Rampage II Gene. A nice feature of the BIOSÂ are the coloured reminders of what level of safety your are setting the voltages at. Blue = standard, yellow = steady now, red = she’s gonna blow! At least thats my interpretation of the colours!
Â
Â
Â
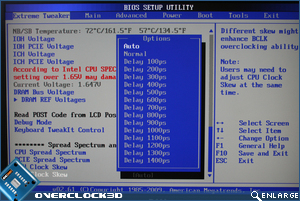
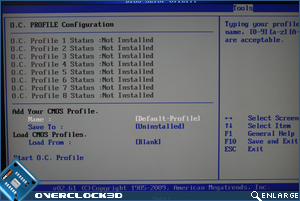
CPU clock Skew can have a dramatic effect on what Base Clock the motherboard and therefore you CPUÂ can reach. The Gene gives you the opportunity to fine tune this setting as well ranging in 100ps delay multiples. After you have made all your significant overclock changes to the BIOS you can the save them to one of 8 profiles which is a great time saving feature and one that IÂ make use of every time IÂ set an overclock, especially when I know I am on the boundaries of stability as if the board fails to boot resulting in a CLR CMOS situation you can easily dial in your previous bootable options without wasting 10 minutes searching for that scrap of paper you (hopefully) wrote them all down on.
Â
Â
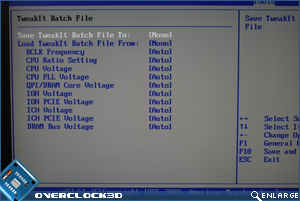
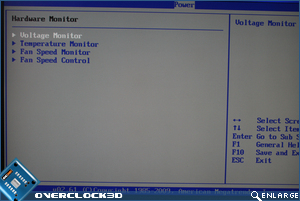
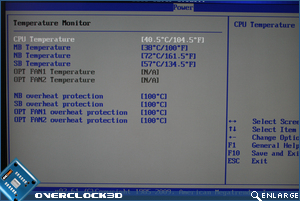
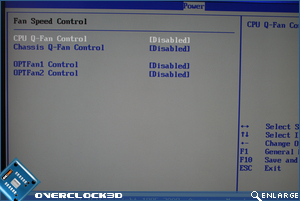
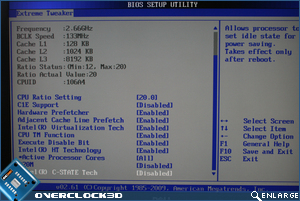
The TweakIt Batch file features allows you to save the individual setting for future reference and load those values at a later date. Think of this as a memoriser for your individual settings rather than the whole settings and you won’t go far wrong. Entering the PC Health Status area we see that there are numerous options available depending on what you want to view. Voltage, Temperatures, Fan speed (Control and Monitor).
This is perhaps one of the most complete, yet user friendly BIOS’ I have come across in a long time. There are plenty of options for both enthusiast and novice alike and the features available are nothing short than phenomenal. IÂ would have liked a better description in the motherboard manual as to what the more complex features did as in it’s current state it appears that the writer had use of limited vocabulary and/or understanding of what the features were themselves. The annotations in the BIOS do help explain a little but are very basic and when you are playing around with what is very expensive hardware you need some reassurance and education of what you are about to do is safe and will actually have a benefit.
Nonetheless, the options are there to be experimented with if you are feeling brave and thus the BIOS section of our review is complete. Let’s move on to our test setup…