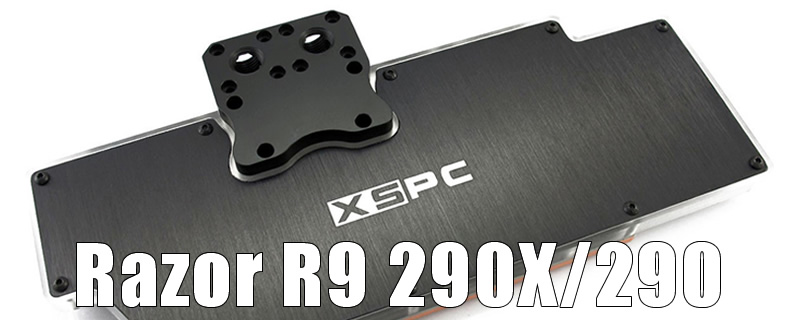
XSPC 290X & 290 Razor Waterblock Review and Fitting Guide

Fitting Guide:Â Assembly
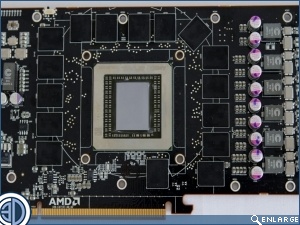
With all the TIM cleaned off the chip, and all the TIM strips removed from the VRMs and RAM it’s time to get cracking with the reassembly. As you might imagine the first steps are to re apply fresh TIM to the Chip (seen centrally in the image below left), and to apply the TIM strips to the RAM and VRM areas. After removing the backing strips from both sides of the strips apply them carefully to the areas as seen below right. XSPC provide pre cut lengths of TIM strips and give very clear instructions on where these are to be applied.

Â
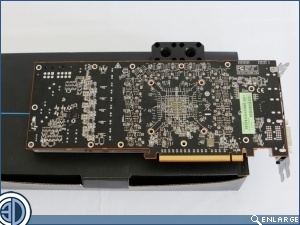
The next step is to mate together the PCB with the water block. There are essentially two ways of doing this. The first is to place the PCB facing upwards and to place the water block on top of it, and the second, which is the method we’ve chosen is to lay the water block down and invert the PCB onto it. The reason we’ve chosen this method is that it negates the need to flip the un attached pieces over and also makes it easier to line up the screw holes underneath. You will however need to rest the water block on a box with the PCI attachment jutting out over the end to keep everything level. With all the holes lines up it’s time to place the red fabric washers carefully on top of each hole. Please note that the three holes on the left edge of the card are not used.

Â
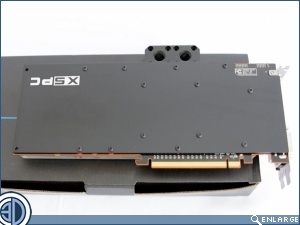
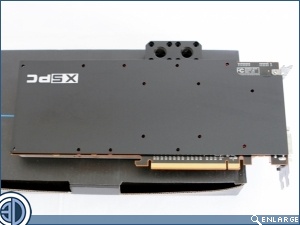
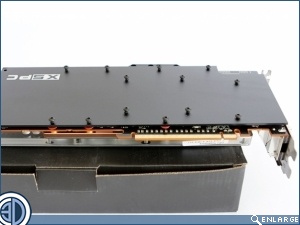
If you’re not using a back plate the next step is to select the screws from the water block pack and screw the block and PCB together. as we’re using the back plate we need to select the alternate, slightly longer screws from the back plate pack. It’s essential to place the back plate very carefully so as not to dislodge any of the washers underneath. If one does move out of place slightly a wooden toothpick or similar can be inserted through the hole to help tease it back into place. If everything goes Pete Tong and a few move then the best bet is to lift the back plate off and start again. With all the holes lined up it’s time to start inserting the screws. XSPC provide an Allen key to tighten these but it’s worth investing in a screwdriver with interchangeable Allen head sockets as it will make the process quicker and easier. At this stage we have only tightened the screws a turn or two to check that everything goes together nicely.
Â
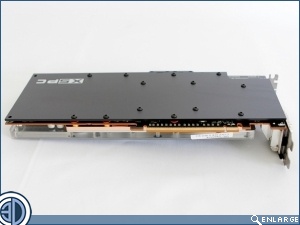
In tightening the screws down fully we hark back to good engineering practice and work diagonally across the board. Starting at the centre and working outwards. It’s a good idea to start with the four central screws surrounding the main chip, working from top left to bottom right, then top right and bottom left. When these are tight move onto the other edge screws, again working from the middle outwards diagonally and opposite on each pass, on the first pass tightening them only so much as to cause them to contact the back plate. The worst thing to do here is to start at one end and tighten each screw down to it’s max straight away as this will most likely result in poor seating at best and a cracked PCB at worst.