


Gigabyte 3D Aurora Case

Installation
Â
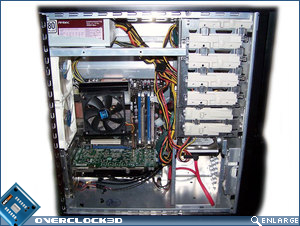
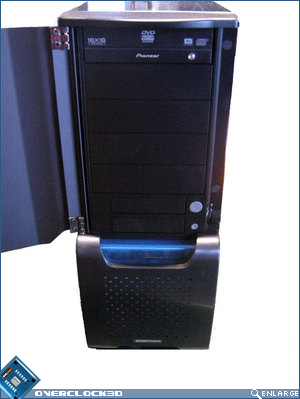
Installation of the test system into the Gigabyte 3D Aurora chassis was for the most part, a pleasant affair. The height of the chassis allowed additional room to move when installing the CPU heatsink and power supply, as well as routing the cables around the top of the motherboard.
Â

Â
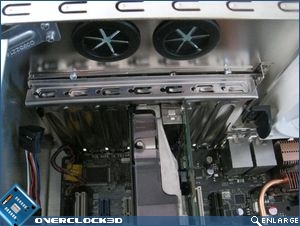
The tool-less locking mechanism for the blanking plates at the rear of the chassis is probably the best implemented and well thought out of any currently available chassis. The locking mechanism holds everything firmly in place, even when you have multiple cards in the PCI or PCI-E slots on the motherboard.
Â
Â
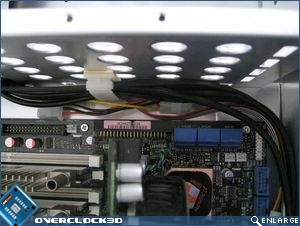
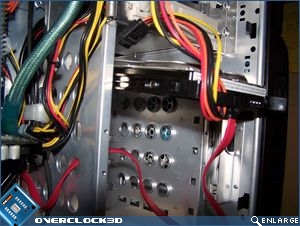
The HDD cage caused quite an amount of anguish when installing the test system today. Firstly, there isn’t a hell of a lot of room between the edge of my ASUS Blitz Formula SE motherboard and the HDD cage. This made it incredibly difficult to install the IDE and SATA plugs. Even moving the front panel connector cables didn’t seem to provide much additional leverage and room to move. So if you have a motherboard with side-orientated plugs, then it’s certainly worth bearing this in mind. Secondly, as there aren’t any cable routing holes in the motherboard tray, it means that routing something as simple as a SATA cable can lead to increased cable clutter – especially if you have a number of SATA drives to install.
Â
Â
Â
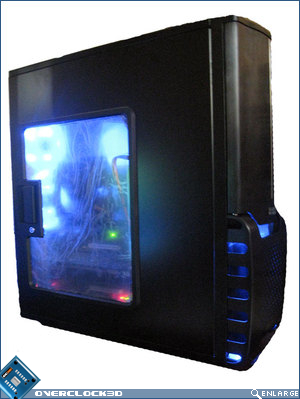
With the system powered on, we can see that the 120mm fans emit a rather pleasant blue hue, both inside the chassis and out. The 120mm LED fans are quite bright, but not overpowering. Should a blue theme not be to your liking, a simple swap of the fans for a colour more suited to your tastes is easy enough.
 Â
Â
Â
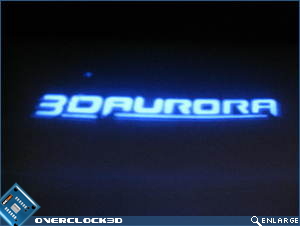
From the image above, we can see the 3D Aurora backlight projection in action. I was going to swap the standard 3D Aurora one out for something like ‘OC3D is teh Shiz’, or ‘OC3D is t34 1337||355 11111’, but I unfortunately ran out of time. 😀