Fractal Design ARC Mini R2 Review

Stripped
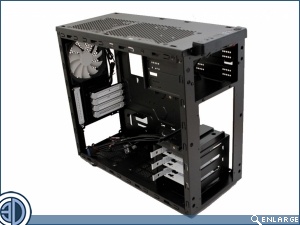
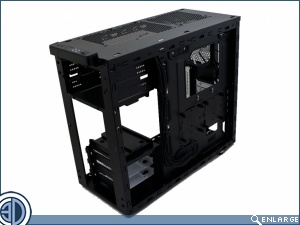
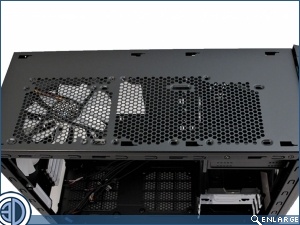
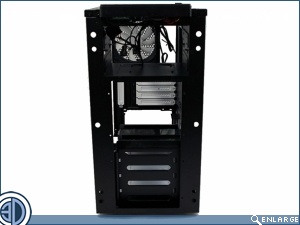
The roof of the case is removed by simply releasing a few screws along the upper rear edge. Doing so allows the roof to be lifed off allowing access for cleaning and hardware installation. By now the beady peepered amongst you will have noticed offset and elongated screw holes which can mean only one thing. Native water cooling support. The un-beady peepered amongst you will have hopefully picked this up in the Technical Specification section.Â

Â
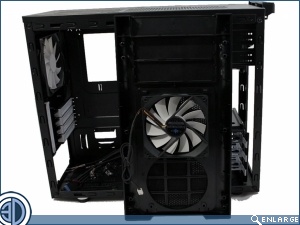
The front fascia can also be removed, but this time all that is required is a firm tug on its underside lip. Flipping it around shows the installed 120mm is actually attached to the fascia as opposed to the chassis so you’re going to have to unplug any fan cables to get it off. Just worth remembering before you loom them in so tight you can’t get the door off!
Â
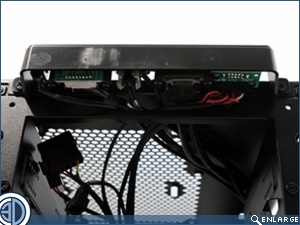
Thankfully the front I/O stays with the chassis, which will make things a lot easier. There’s a lot of wires exiting this compact little unit which will need to be managed out of the way if you’re intending to put a device in the top 5.25″, or anything else such as the end of a 360mm rad that might intrude into this area.
Â
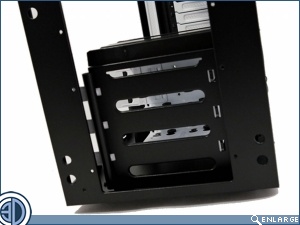
Aside from the remaining HDD rack which is easily removed by undoing some screws in the base, there’s nothing else obscuring the front of the case. This we hope might leave the door open for some seriously thick rads.