


DimasTech Bench Table

Â
Installation and Testing
Â
Once again the usual testing procedure used for cases here at OC3D has been foiled by the DimasTech Bench Table. The whole point of the Bench Table is to to allow you to swap out components fairly easily. As there aren’t any walls on or around the components to impede airflow, the temperatures of the parts used will be unaffected by the case.
Â
So to keep with the product’s intended use I will be testing it by installing two setups, each with different cooling solutions to ensure that the case’s ease of use is up to the level that a case of this nature should reach.
Â
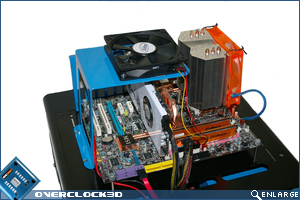
Setup 1: Air Cooling – OCZ Vendetta II
Â
Relying on the air around it to dissipate the heat, air cooling should do well with the DimasTech Bench Table as there is nothing to impede the flow or trap hot air around the components.
Â

Â
Installing the first set of test components including the Vendetta II was nothing short of a doddle. Mounting the motherboard on the outside of the case, and placing the components as you would on the tray of any regular case, everything is securely held in place with thumb screws. The cables weaved their way up through the purpose cut holes and plugged in, which keeps the setup looking neat and tidy.
Â
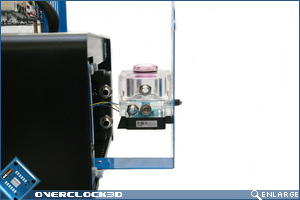
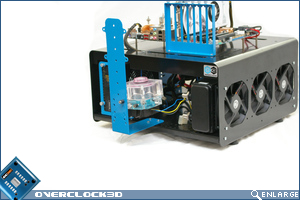
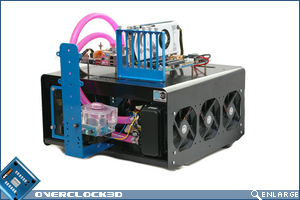
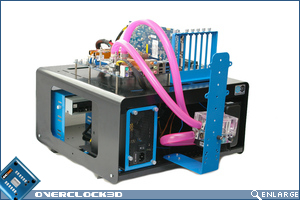
Setup 2: Water Cooling – XSPC Delta, Thermochill PA120.2, DDC W/ Alphacool Rez Top
Â
Installing water-cooling into the DimasTech Bench Table proved considerably more challenging than air cooling – requiring a little thought and planning to ensure everything fit. Mounting the radiator into the lower section was the easiest part of the job, followed by fitting the pump into the provided mount sticking out of the side of the case. Unfortunately, I couldn’t get my Laing DDC pump to fit onto the bracket regardless of what position I tried to mount it. This doesn’t mean that it doesn’t fit however, just the lack of instructions have crippled what should have been an easy installation. In the end I used just a single bolt to just keep the pump and reservoir in place.
Â
Â

Â
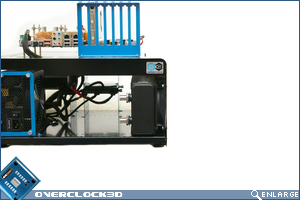
Once the components were mounted it was time to add the tubing. Routing the XSPC 1/2″ Tubing through the case’s interior wasn’t really possible simply due to it being too thick to fit though the cable holes, but for this simple loop there was no real issue by routing it around the outside of the case.
Â
Â
Thoughts
Â
After spending a good few hours swapping parts in and out, it was clear that the DimasTech Bench Table had the majority of its objectives ticked. Changing out the major components in a system was easy as pie. Graphics cards, Ram and CPUs could be switched in a matter of minutes, with motherboard removal being only a little bit more effort. Keeping the less frequently change components on the bottom half means that the whole table is very practical. It also aids in keeping the working area clear of cables that would otherwise have strewn themselves all over the place.
Â
Once the water-cooling parts were in place it would be the same scenario as with the PSU and drive bays. The block would be simply removed from the components on the upper level while they were being swapped out. After the initial installation, everything would be trouble free.
Â
Finally, I should mention that this bench table would be ideal for either dry ice or liquid nitrogen benchmarking – as it provides a solid platform on which to mount everything. A Single stage or Cascade phase change cooling setup could also sit at home on the DimasTech Bench Table, although accommodating the two could take up rather a lot of space.
Â
Let’s head over the page to see how the DimasTech Bench Table scored….