Corsair Lapdog Gaming Control Centre Review

Building
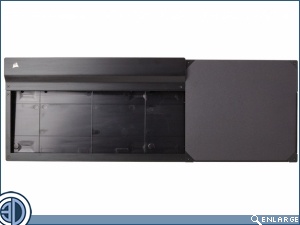
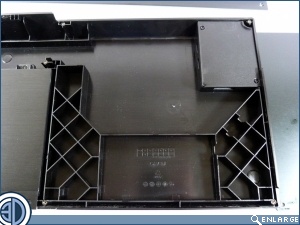
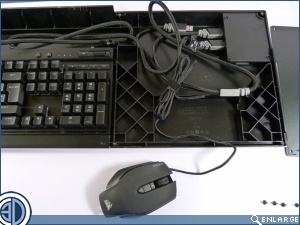
Built into the underside of the foam thigh rest is the hex screwdriver which enables us to build this in a minute or two. It’s simplicity itself. Undo the two bolts holding the cable storage, and the four keeping the mouse mat in place. We’re using the K70 for our build today so the extra blanking plate for the tenkeyless K65 can come out too.Â

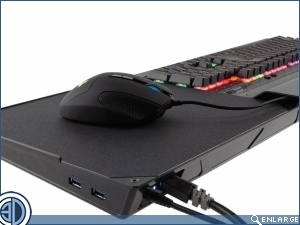
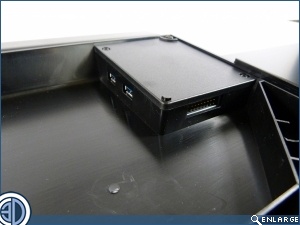
The Hub is build into the corner, no flapping about afterthought here, and whilst it is a four port hub the internal two are used to attach the keyboard and mouse so that all your cables are neatly tucked away.
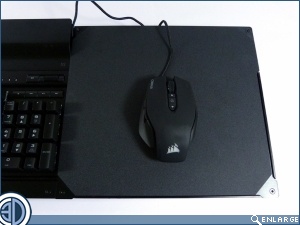
We’re using the K70 and it’s a perfect match, slipping in easily to the Lapdog (driinhk) and fitting like a glove.
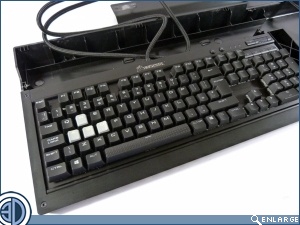
The mouse, a Corsair M65 naturally, also plugs into the hub and will be routed out through the cable cover. If there is a downside to the whole procedure it’s that the cable for the Corsair K70 is so well braided and thick – qualities that stand it in great stead as a keyboard in general – that it’s extremely fiddly to fold the cable enough to fit it into the gap behind the keyboard.
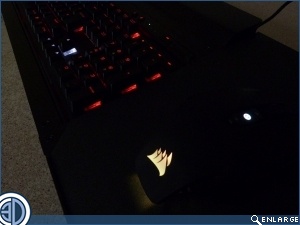
However, once that’s done and the top is screwed back on you can clearly see the harmonious design between the Lapdog (yay I got it right) and the K70. It’s like they were build as one unit.
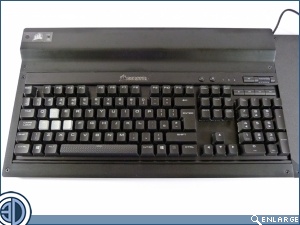
And there you have it. Everything all ready for gaming in comfort and style in about five minutes.