Synology DS207+ NAS Server
A Closer Look
Â
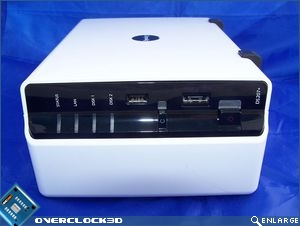
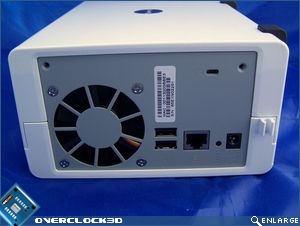
The DS207+’s front fascia features an on/off button; USB copy button; an eSATA connector; a USB 2.0 port and four lights that represent Status, LAN, and Disk 1/2 activity. At the rear of the unit, the DS207+ features 2 x USB 2.0 ports for external HDD’s, a Gigabit LAN connector, a reset button should you forget your password, and the power supply input for the PSU.
Â
Â
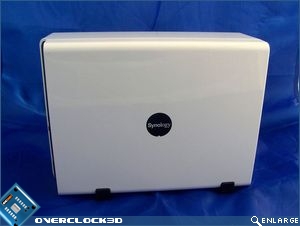
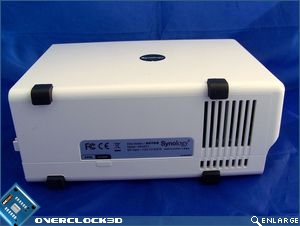
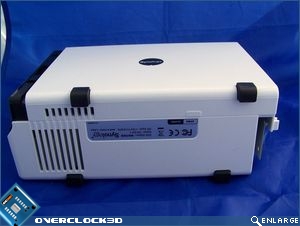
Synology has included some nice rubber feet on the bottom of the DS207+ to prevent the unit from sliding around on your desk. And the overall look of the DS207+ is very classy.Â
Â
On the underside of the chassis there is a louvered vent which facilitates the passage of cool air to be drawn up into the chassis and expelled via the fan at the rear of the unit.
Â
Â
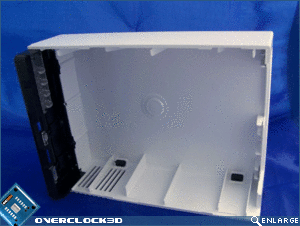
In order to gain access to the internals of the DS207+, all that is needed is to remove two screws from the rear and then slide the unit apart.
Â
Â
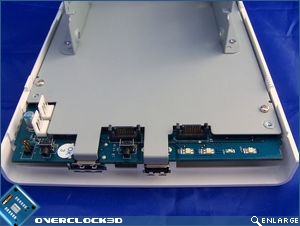
Once inside, the complexity, or lack there-of, really becomes apparent. The DS207+ features a small PCB with two SATA plugs and 2 x 3-pin power connectors attached. I’ll show you the motherboard in greater detail over on the next page, so don’t worry.
Â
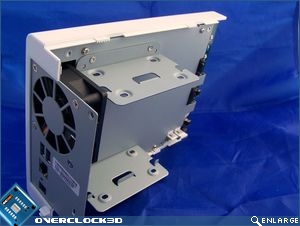
Situated over the rear of the motherboard, courtesy of four screws, is the steel housing for the HDD’s. As the DS207+ is only capable of running a singular HDD or RAID 0/1 array, there is only provision for two HDD’s. Interestingly, you can see that the fan at the rear of the unit protrudes below the steel HDD housing plate. This assists with drawing cool air over the componentry on the motherboard from the louvered vent at the bottom.
Â
Â
Let’s head over the page to see what kind of components Synology has used to control the DS207+ NAS server.


