SanDisk Extreme Cruzer Contour 8GB Flash Drive
Installation
Â
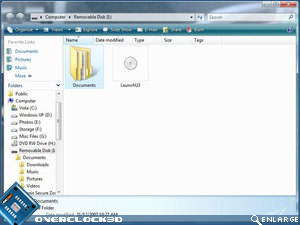
After plugging in the SanDisk Extreme Cruzer Contour we can see the presence of one ‘Documents’ folder and one LaunchU3.exe file. The Documents folder gives you immediate access to your stored files on the flash drive itself without having to install the U3 environment. This handy if you have a particularly strict Network Administrator that doesn’t like you running applications other than those deemed acceptable.
Â
Â
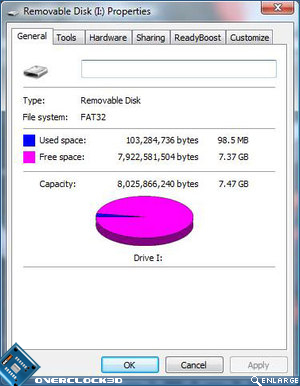
Checking the Disk Properties we can see that after formatting the Cruzer Contour has a capacity of just under 7.5GB, with around 100MB dedicated to the U3 Launchpad environment.
Â
Â
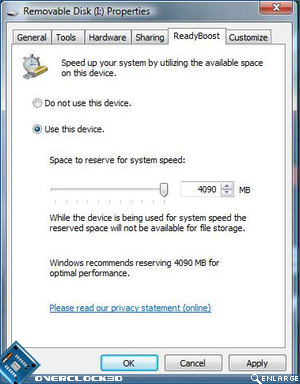
ReadyBoost can make a difference in speeding up Vista, and as I mentioned previously, the SanDisk Extreme Cruzer Contour supports it.
Â
Â
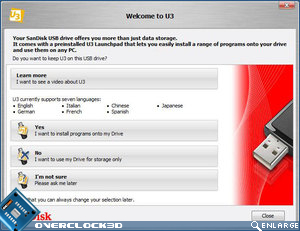
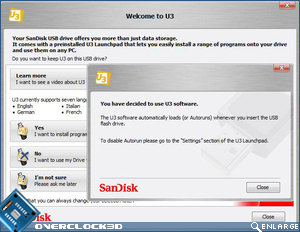
By clicking on the ‘LaunchU3’ icon in My Computer we are brought to the first screen in the U3 Launchpad setup screen. Here you can allow, deny or have the option to decide later.
Â
Â
Once you have enabled the U3 Launchpad it will automatically start each and every time that you insert your USB drive into your PC.
Â
Â
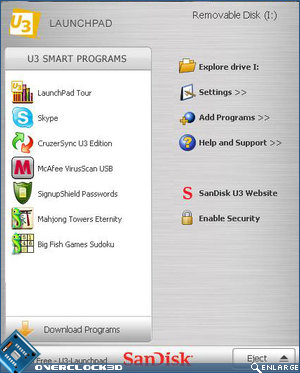
After setup, the U3 Launchpad looks very similar to the Windows Start Menu and allows you to access U3 applications on your U3 enabled flash drive, and/or install additional ones from the U3 Software Central.
Â
Â
Once your U3 environment is fully installed, you will be greeted with a U3 launchpad that looks very similar to the Windows Start Menu. From here you can gain entry to your flash drive; add additional U3 applications from the U3 website; enable a secure password for your flash device, and adjust the settings.
Â
Â
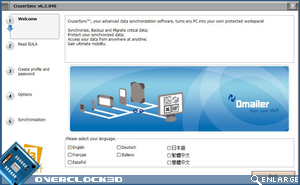
The SanDisk Cruzer Contour also allows you to synchronise data between various devices on your network, courtesy of an easy to use wizard.
Â
Let’s head over the page to see how we’re going to test the SanDisk Cruzer Contour…


