OCZ Elixir Gaming Keyboard
 Features
Â
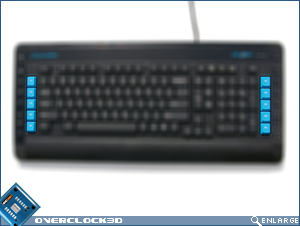
There are a fair few fancy tricks that the Elixir presents us with to set it apart form the average joe of keyboards. The most prominent is its bright blue function buttons. The board boasts 10 of these total, placed strategically down the left and right sides of the main key set. These are then referred to (quite logically) as L1-5 and R1-5.
Â
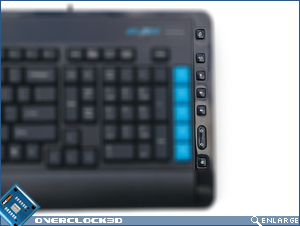
Next up are the media buttons, placed parallel to the function keys along the glossy edges of the board. These provide the user with the usual start, pause, stop, skip, volume etc. that you would expect. Obviously the appeal is going out to gamers who like to listen to music while they play here.
Â
Â
The last of the features listed was the ‘100% rubber coated’ buttons. This was a little concerning, as you are more than likely aware that rubber wears down. After a fair bit of use, we could see letters fading away. Of course OCZ have provided spares of the WASD keys, and who needs more than them really!
Â
Â
Software
Â
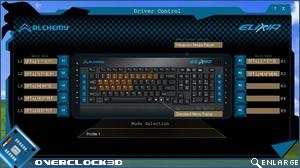
The software installation was a very standard affair. Pop in the disk, click yes and OK until it prompted a restart, job done. Upon starting again, the Alchemy logo makes an appearance in the task bar and from there you can double click on it and bring up the main control dialogue box.
Â
Â
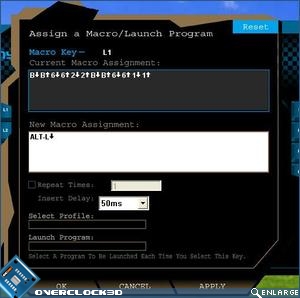
From here, you can set the binds and macros assigned to the L and R function keys. Programming the macros is incredibly easy as you can see: simply click in the ‘New Macro’ box and type in the key sequence you want. It also allows you to chose various options, including how many times you want the macro to be performed on a single keystroke and the delay between the keystrokes.
Â
Â
Â
Lastly we see the Mode assignment, allowing the user to customise three separate profiles for different binds.
Â
Â
The software boils down to be very user-friendly. You don’t need a masters in programming to assign effective macros and it even gives you the ability to change what happens when you press other keys on the board besides the L & R buttons.
Â
With the board installed and software installed, it’s time to move on the the testing…


