ASUS Maximus II GENE mATX Motherboard
The BIOS
Â
Previous Republic of Gamers motherboards have never failed to impress in the BIOSÂ department and ASUS seeming to have to have the combination of just enough options for the pro, yet not overwhelming for the novice down to a fine art. The Maximus IIÂ Gene certainly gets a good start by using the familiar Phoenix BIOSÂ layout which has fast become most enthusiasts favourite over the slightly dated AWARDÂ BIOSÂ used by some other manufacturers.
Â
Today we’re going to focus mostly on the Extreme Tweaker section which is where all of the overclocking happens, but you can rest assured that the remainder of the BIOS contains all of the usual options for enabling/disabling board features, configuring boot sequences and configuring SATAÂ devices.
Â
Â
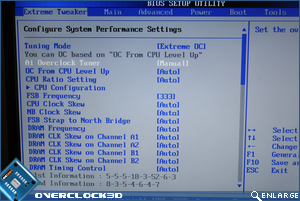
The very first option at the top of the page is “Tuning Mode”. This essentially allows you to set the amount of visible options on the rest of the Extreme Tweaker page. Opting for “Gaming” only provides the basic options for overclocking, with all of the more advanced options hidden away and automatically set by the BIOS, whereas Extreme OCÂ (as you’ve probably already guessed) shows the full list of options in all of their glory.
Â
Â
If you happen to be after a quick overclock and don’t really feel like setting any of the options yourself, then CPUÂ Level Up is the place to be. The BIOS correctly detected our chip (E8400) and provided a list of faster CPU’s in the same product range to effectively level up our CPU to. Similarly, if you was to have an Q8200 chip in your system, the options here would be along the lines of Q8400, Q8600…etc.
Â
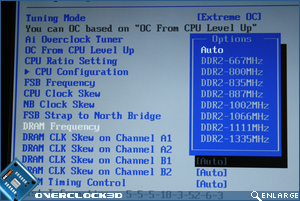
As you’d expect, the Maximus II Gene also provides a decent amount of memory ratio options going all the way up to DDR2-1335MHz (we wish). These will certainly come in handy later on in the review when we test out the maximum OCÂ and maximum FSB capabilities of the board.
Â
Â
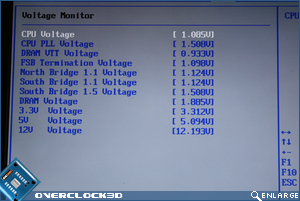
Voltage options are borderline suicidal in most cases with the CPUÂ voltage going all the way up to a silicon sizzling 2.4v and DRAM options up to a chip frying 3.4v. A great feature of this particular BIOSÂ is that it shows you both the current voltages and temperatures on the same screen. This makes it extremely easy to work out how much further you can push the CPU or other components without having to switch to another area of the BIOS to check these values.
Â
Â
Â
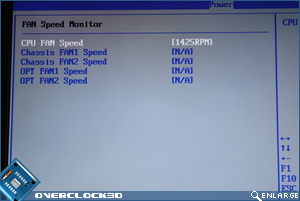
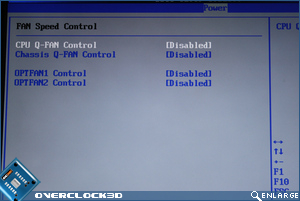
Of course, should you want to see a list of all voltages and temperatures in one place, a more comprehensive list can be found under the “Power” section of the BIOS. Once again there’s no cutting corners with ASUSÂ monitoring everything from CPUÂ voltage to Southbridge Voltage and the same in the Temperature section too. Up to four fan speeds can also be monitored and controlled from this section of the BIOS.
Â
Â
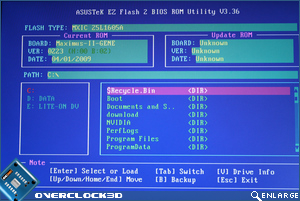
Finally we arrive at the Tools section of the BIOS where ASUSÂ have provided utilities for both saving the current BIOSÂ settings and also flashing the BIOSÂ up to a newer version. Quite surprising to see is that the ASUSÂ Flash utility can actually read direct from NTFSÂ filesystems. This means all you need to do when updating your BIOSÂ is save the ROMÂ file to your C:, reboot and select the file from the folder list – no need for even a USB stick!
Â
Once again the Maximus II Gene has ticked all the right boxes for both the enthusiast and the casual overclocker. Offering a wealth of features easily comparable to that of its full fat ATXÂ counterparts and in some cases even more. All that remains to be seen now is if these features can be put to good use. So let’s move on to the next page where we begin the testing.


