Asus Crosshair II AM2+ Motherboard
BIOS Options
As always with Asus boards there are software applications that will do the majority of the work for you when overclocking but there are limits to using such software, and to get the best from an overclock the BIOS is where you should input your desired settings. Skipping through the most basic settings, here’s a rundown of what to expect with the Crosshair II BIOS (ver.0401).
As always with Asus boards there are software applications that will do the majority of the work for you when overclocking but there are limits to using such software, and to get the best from an overclock the BIOS is where you should input your desired settings. Skipping through the most basic settings, here’s a rundown of what to expect with the Crosshair II BIOS (ver.0401).
Â
Upon booting up we are greeted with, yup you guessed it, another Republic of Gamers emblem that’s actually quite funky and yet another reminder that this is a performance board. This screen can be customised to whatever picture you like although there are inherent risks with doing so as you are programming the BIOS chip, which is always risky to a certain extent.
Â
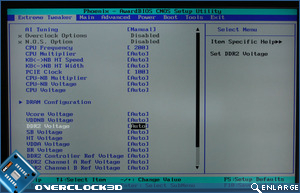
I was happy to see the Crosshair II uses a Phoenix AWARD BIOS which most overclockers will be familiar with. Skipping the usual screens of which are pretty straightforward, I’ll jump straight into the Extreme Tweaker section, which Asus correctly assumes will be the most used page and saves tabbing through the pages to get to the most important settings of the board.
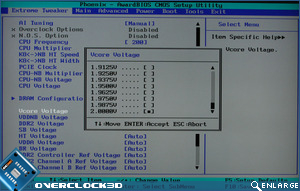
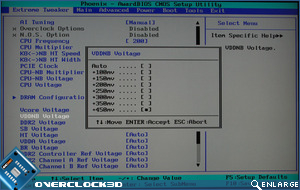
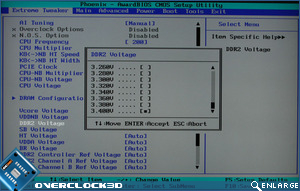
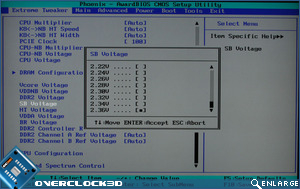
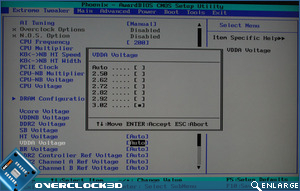
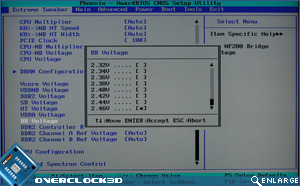
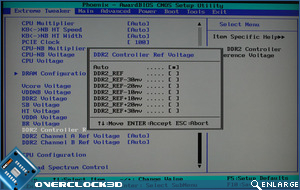
Straight away we see a plethora of options, most of which seasoned overclockers will be familiar with. The usual Vcore, Vdimm, SB, and CPU multi’s are all there along with Nvidia’s link width and voltage settings, but there are a few new additions such as VDDA Voltage, BR Voltage and DDR2 reference voltages. Each voltage brings up a new window in which you either scroll to the setting you want or directly type it in. Let’s have a deeper look at what settings are available.
Â
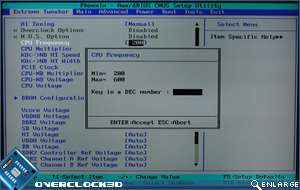
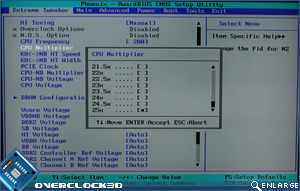
CPU Frequency (FSB) ranges from 200mhz-600mhz and because it’s such a huge range, you can type in the exact value you require rather than scrolling through the multitude of values. The CPU multi on our Phenom CPU is unlocked allowing us to set the multi from 5x all the way up to 25x with half multi’s in between.
Â
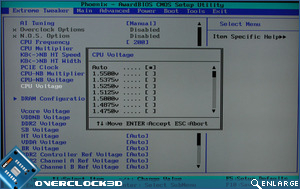
A new one for me is the CPU Voltage setting. This is not CPU Vcore as I first thought and unfortunately there is no reference to this voltage in the manual. Settings range from 1.55v – 0.7750v. Vcore voltage is ‘exactly what it says on the tin’ and with adjustments ranging from a minuscule 0.7750v to a Chernobyl equalling 2.000v. This should satisfy even the most ardent of extreme cooling enthusiasts.Â
Here’s another voltage setting I am unfamiliar with – VDDNB. Apparently this setting is specific to Phenom CPU’s and controls the power supply to the Northbridge switching circuits. Values range from +100mv – +450mv. DDR2 Voltage has an astronomic top value of 3.4v, easily enough to kill your sticks so only the brave need apply. For the mere mortals among us settings begin at 1.8v and increase in increments of 0.02v.
Â
Â
SB voltage allows you to set the power to the 780a chip and values range from 1.10v to 2.36v in increments of 0.02v. With the reportedly high temps of the 780i chipset it will be interesting to see how hot the 780a gets, although I am not cruel enough to push 2.36v though it! Yet another new setting is the VDDA setting. Even the might of Google failed to bring up an explanation of this so it’s a question for Asus to answer I’m afraid.Â
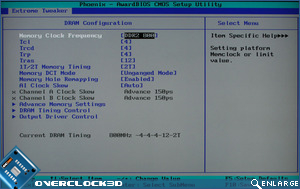
The BR Voltage controls the NF200 volts, which controls the PCIe bridge voltage. Settings range from 1.20v – 2.46v. Last of all we come to the DDR reference voltages whereby you can set the controller, Channel A and Channel B voltages independently. Values range from -30mv – +30mv. Which brings me neatly onto the DRAM configuration settings where the bread and butter memory settings are. There are however hidden treasures here!
Â
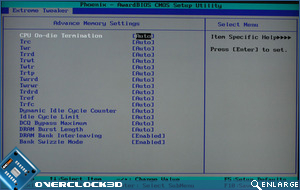
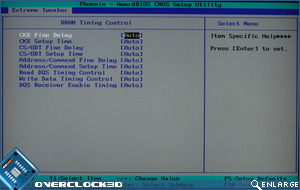
Apart from the standard timings, opening up the advanced memory settings gives you plenty of scope for fine tuning your memory. But that’s not all! You can also tweak the memory further in the ‘Timing control’ area. But still that isn’t the end of the memory section…
Â
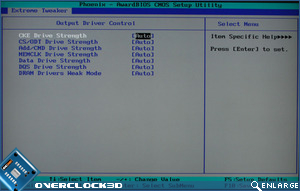
Every brand of memory, be it D9GSR or Elpida, has preferences for driving control and strengths so this is where you can tweak those settings to further your memory performance and stability. With the huge amount of options available in the memory section one could quite easily get lost in the sheer numbers involved, well done Asus!Â
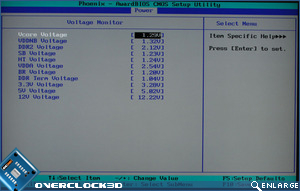
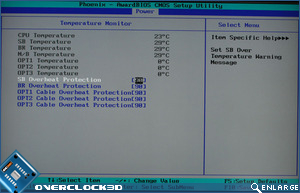
With the many voltage tweaks available it is important to see if the value you set is actually the value you get. You can view the voltage readouts as well as the temperature settings in the ‘Power’ section of the BIOS. I didn’t notice any serious drops in voltages although some settings were a little above/below what I had initially set that needed to be compensated for so it is worthwhile having a look in here after you have set the values you require. Due to the numerous (and sometimes excessive!) amounts of voltages options available it is imperative that you can monitor each component’s temperature to keep it within a reasonable limit. Asus haven’t failed to deliver with the essential temps available which should also be transferable to Windows based monitors (with the correct config).
So, a very well laid out and comprehensive BIOS indeed. Whether you fancy a quick overclock or a more in-depth tweaking session this BIOS has it all and caters for novices with auto-overclocking or extreme enthusiasts alike with the huge amount of settings available. The BIOS contains profiles which allow you to store those precious settings be it for suicide runs or your 24/7 stability values and if all else fails you have the option of using EZ-Flash which is a pre-loaded utility allowing you to easily update the BIOS from a DOS based environment rather than the treacherous and risky Windows flash utilities.


