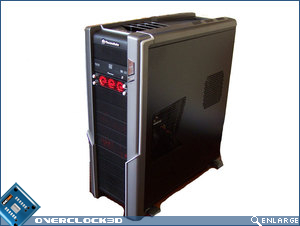
Thermaltake Spedo Advance Chassis
Installation
Â
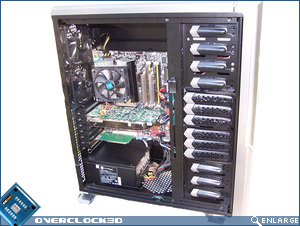
Installation of the testing hardware into the Thermaltake Spedo Advance was an absolute breeze. The chassis provides plenty of room to easily manouvre around the inside, and to be honest I didn’t miss not having a removable motherboard tray.
Â
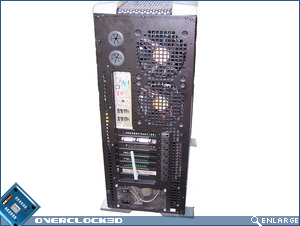
Cable routing was also a pleasant experience too with plenty of places to thread cabling out of the way, and improve the cooling ability of the chassis.
Â
Â
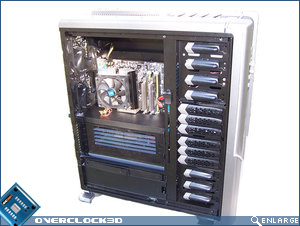
In the image above you can see the Thermaltake Spedo Advance chassis with the Advanced Thermal Chamber (A.T.C) compartments installed. It also helps to give a very clean appearance to the setup.
Â
Â
Â
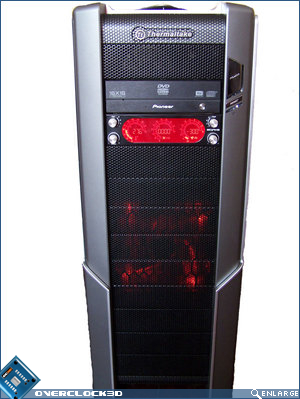
Powering on the Thermaltake Spedo Advance chassis for the first time also produced an impressive visual experience. The red 120mm TurboFan in the front of the chassis compliments the screen colour of my Scythe Kama Meter.
Â
Now that we’ve seen how easily the Thermaltake Spedo is to set up, let’s head over the page to see how we’re going to test it…


