DimasTech Bench Table
 Putting The Pieces Together
Â
This part of the review is normally taken up by a thorough look at the externals and internals of a case. But seeing as this came in a DIY format, I’m going to put in a quick guide to assembling the case to try and prevent people from making the same mistakes I did.
Â
To start with a little tool list:
Â
* 7mm Spanner
* 13mm Spanner
* 2 x Philips Head screwdriver (Medium & Small)
* Flat Head Screwdriver
* Hammer
* Drift
* 13mm Spanner
* 2 x Philips Head screwdriver (Medium & Small)
* Flat Head Screwdriver
* Hammer
* Drift
Â
Almost everyone should have access to the basic tool list that I included above. Assembling the case without them, while possible, might prove awfully fiddly. So assuming everything is unpacked and the tools are ready and waiting, it’s time to begin.
Â
1: Install the drive and PSU Mounts
Â
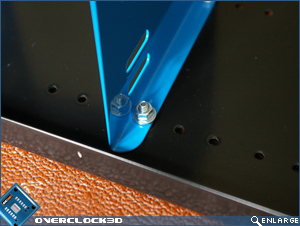
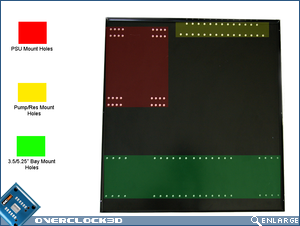
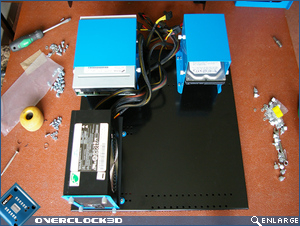
Using the longer bolts, a washer and nut, simply screw them into the holes on the base where you want them. Make sure you install the mounts with the lip of the tray facing down, as you can see in the first image. The second shows which mount holes are for what.
Â
Â
2: Install the Feet
Â
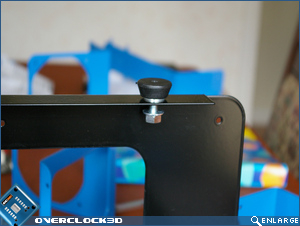
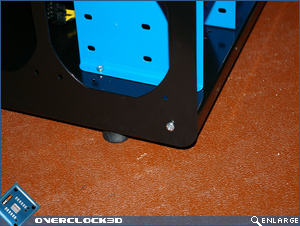
The feet of the case screw into the bottom lip of the outer shell. They use the larger of the nuts and washers that are supplied in the package.
Â
Â
3: Install the motherboard stand-offs
Â
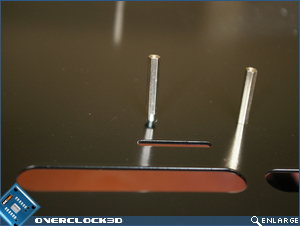
Using the thin screws in the pack, insert them through the holes in the outer shell and screw the stand-off over the top. Bare in mind that there are mounts for both mATX and ATX here, so make sure that you screw in the ones you need. Screwing in one of the wrong mounts has the potential to cause a short.
Â
Â
4: Install the Switches
Â
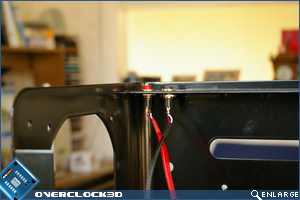
Now these were a real pain. Here I knocked them in using the hammer and drift because the holes were made ever so slightly smaller by the powder coating. Installing them by hand is probably possible, but one good thwack with a hammer and they were in. It’s important to use the drift as it will prevent damage to the button. Once they’re in, press on the locking washer and do up the nut by hand. This can be very fiddly due to the very thin nut. If you’re having too much trouble tightening them up, you should be able to forfeit the locking washer.
Â
Â
5: Install the PCI bracket
Â
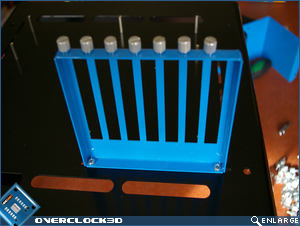
Once again using the longer of the screws, install the PCI bracket. I’d recommend not to do it up fully at this stage, as you might need to adjust it when installing the expansion cards.
Â
Â
5: Install the base into the outer shell.
Â
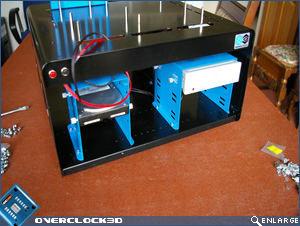
I would strongly advise you to Install the PSU, drives and any other components needed on the lower level before installing it as this will save a fair amount of hassle later.
Â
Â
Slide in the base but be sure to avoid the screw thread that is protruding out from the case feet by simply lifting the tray 1/2″ every time. Watch out for the screws holding in the hardware mounts as well. Once the tray is in place, line up the holes in the base with the mounting holes on the outer shell and then bolt them together.
Â
Â
Now the DimasTech Bench Table is finished and ready for torturing some poor, unsuspecting hardware!


