BitFenix Prodigy M Review


The Build
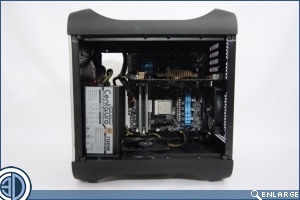
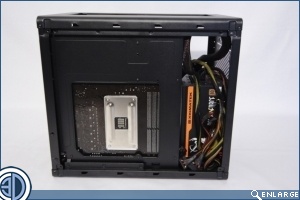
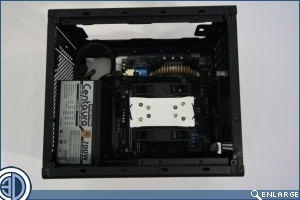
The PSU is mounted to a removable bracket before being slotted into the case. It’s a bit of a tight fit but no biggy. The Motherboard goes in inverted with the CPU lowermost and the expansion slots t the top.
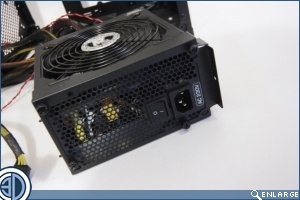
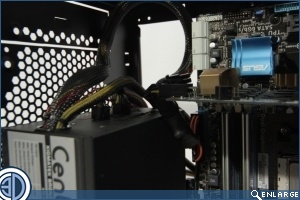
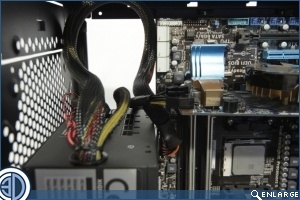
Clearance between the GPU and the rear of the PSU is extremely tight. We mentioned earlier that it’s best to have the fan facing outwards as to have the PSU rotated would mean the main 24 pin ATX supply would be directly in the path of the GPU. As it is the sockets on this modular PSU would impinge on the PCB of the GPU were it to extend much further. It’s also worth considering that we’re using a 160mm long PSU, as to use anything longer would drastically reduce the max GPU length from a very ample 320mm down to a paltry 230mm. As it is the ancillary power cables in the modular PSU would impinge on a GPU dropping the length down to 290mm or even 250mm should the lower rail be needed.
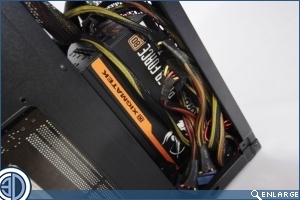
If you’ve read our review of the Phenom then you’ll be familiar with the technique we used for “managing” the cables. Having researched our technique it appears we are practicing the ancient Japanese art of “stuffing it all in the big hole round the back”
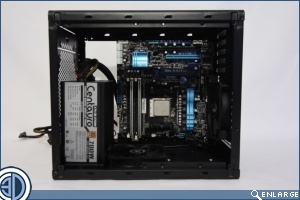
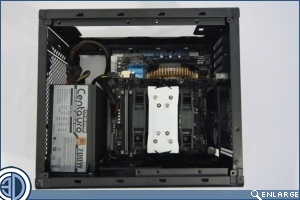
Like cable management airflow management is also a bit of an art form when it comes the M-ATX version of the Prodigy. With both fans set to extract it’s a not too obvious which way round to orientate your cooler. Even switching the base fan to intake and having the intake of the cooler mounted linear to it has it disgorging its hot air onto the rear of the GPU PCB. Whichever way you chose to mount your cooler you’re not going to have to worry too much about size as anything up to 160mm will fit just fine. If you can live without the HDD cross brace then you can add another 35mm to that total
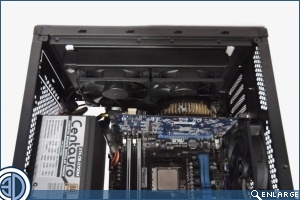
Regular readers will know that we’d usually give a separate section over to the cooling options of a case, but as the choices on offer with the M-ATX Podigy are exactly the same as with the recently reviewed Phenom M there seems little point in covering the same ground. Suffice to say that you can fit a rad up to 35mm thick in the roof, but to do so you’ll lose te option of both having a second GPU and also anything installed in the 5.25″ bay as this room will be taken up by the rad and fans
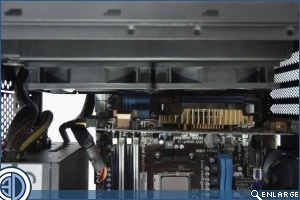
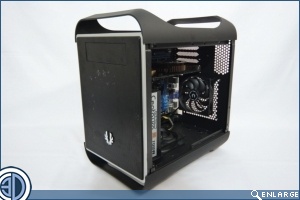
So here we have what modders around the globe have been creating in their sheds. A BitFenix Prodigy with an M-ATX board in it.