BitFenix Phenom M & ITX Review


The Build
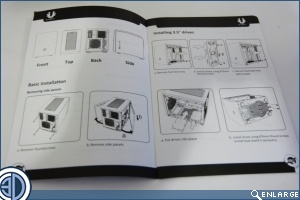
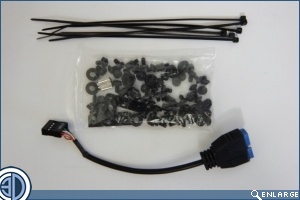
We’d never admit to reading instructions. However, for the benefit of the review, we do of course have a look at them (for purely academic reasons you understand). They come in a booklet form and are in English only, so if you’re a Welsh national we suggest you get onto BitFenix for offending your cultural heritage. The diagrams are instructive but could maybe do with being a bit bigger as there’s quite a bit of white space around them that could be better utilised. Accessories wise, along with half a dozen cable ties and the usual “sort em out for yourself” bag-o-screws there’s a handy dandy USB3.0 to USB2.0 adapter. Nice one for all those yet to upgrade to a USB3.0 Mobo.
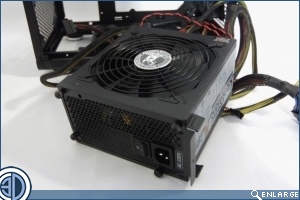
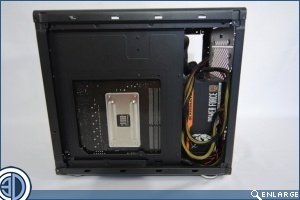
On with the build then and after first attaching the PSU to it’s mounting bracket we insert it carefully into the case. The PSU we’ve used here is 160mm long and although there is space in here for a longer unit do remember that you’ll have to turn the cables round in what ever space remains. It’s also worth noting that longer PSU’s will reduce the GPU length available from the maximum 320mm, but as it’s unlikely that you’re going to be shoe horning a mahooosive 1200W unit in here we don’t really see this as a problem.
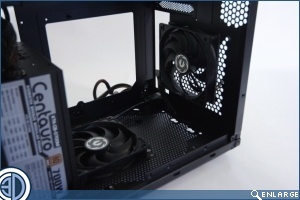
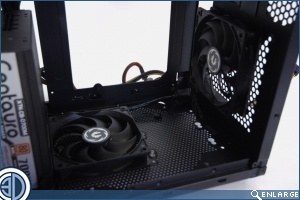
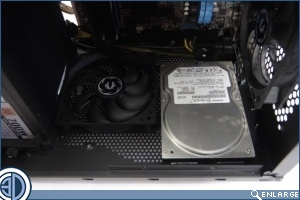
Both of the fans provided with the Phenom are positioned near he base of the case and are set to extract. Nothing wrong with this as such, but as we all know hot air rises their positioning is somewhat in conflict with the laws of thermodynamics. Still, we can always move them can’t we.
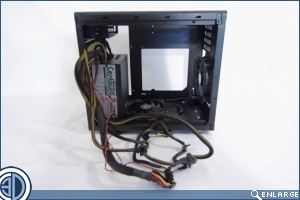
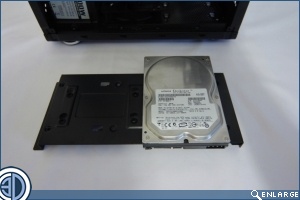
Below we’ve shown a few of the HDD mounting options. to the left we have a 3.5″ in the base of the case, screwed in from underneath and benefiting from isolation rubbers. To the right we’ve shown a drive mounted to the inside of the vertical brace. It’s possible to fit 2×3.5 drives on this side, and an additional 3×2.5″ drives on the other side.
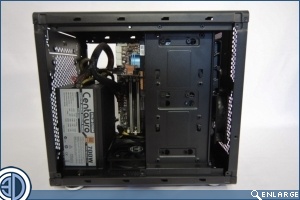
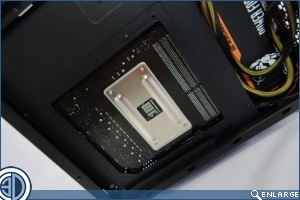
With the Micro-ATX motherboard in we start to get a better idea of the scale of the case. As this is an inverted design the GPU is orientated with its fan facing upwards, and so potentially trying to suck air from the roof vent. Being M-ATX and with 5 PCI slots it’s entirely possible to run an SLI or Cross Fire set up in here. We talked about how a long PSU will impact on the max 320mm GPU length, but it’s also worth noting that the position of the PSU cables themselves will also have an effect on the length of GPU you can fit in. We found that with the modular PSU we used reduced the max length available down to 290mm, and had we used the lower rail of PCI power sockets on the PSU we would have reduced the max GPU length still further down to 250mm. This may be one occasion when a non modular PSU is actually an advantage as all the cables will leave in one big (but ugly) bundle well away from the area of GPU impingement.
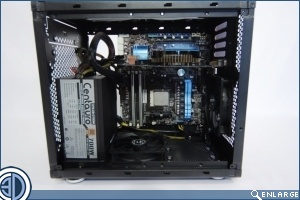
As there aren’t any cable management holes there’s not much point routing things round the back, especially as theres a nice deep recess down the side of the PSU to stash the lengths not used. If we were being even more OC3D we’d probably cable tie all these lengths together to keep them even tidier.
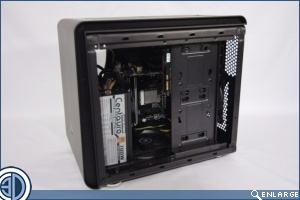
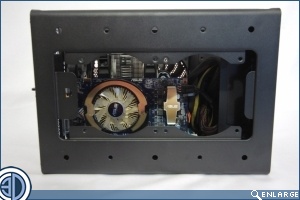
With the HDD rack in the view of the interior is largely obscured, but being as there’s no window it’s not going to be an issue. Should BitFenix release a window version of this case, or should the modders amongst you decide to whip out the Dremel and cut your own then you’re probably not going to want to fit this brace which of course will limit you to the pair of 3.5″ locations in the base.